
How to Build a Keezer:
The Ultimate DIY Guide to Converting a Chest Freezer into a Draft Beer Dispenser
For homebrewing enthusiasts, there’s nothing like pouring your own brew from a tap at home. That’s where the keezer comes in—a chest freezer converted into a multi-tap kegerator. It’s affordable, customizable, and a fun DIY project that’ll take your home bar to the next level.
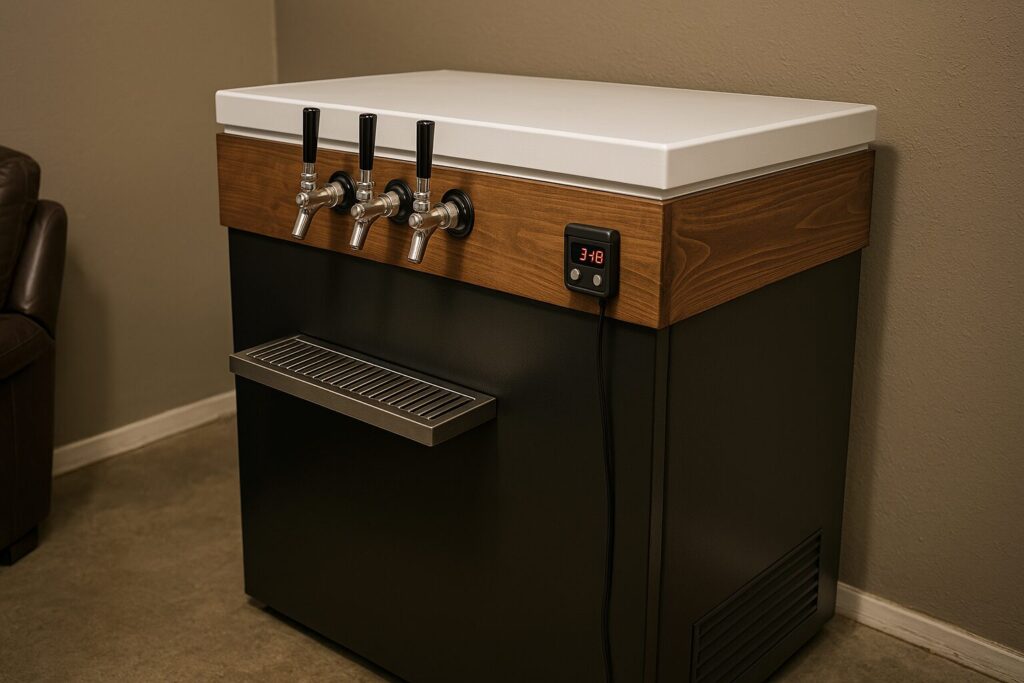
Planning Your Keezer Build
Before firing up the tools, make a detailed plan. The freezer is your foundation, but you’ll also need materials for the collar, gas and draft systems, and tools for assembly.
Choosing a Chest Freezer
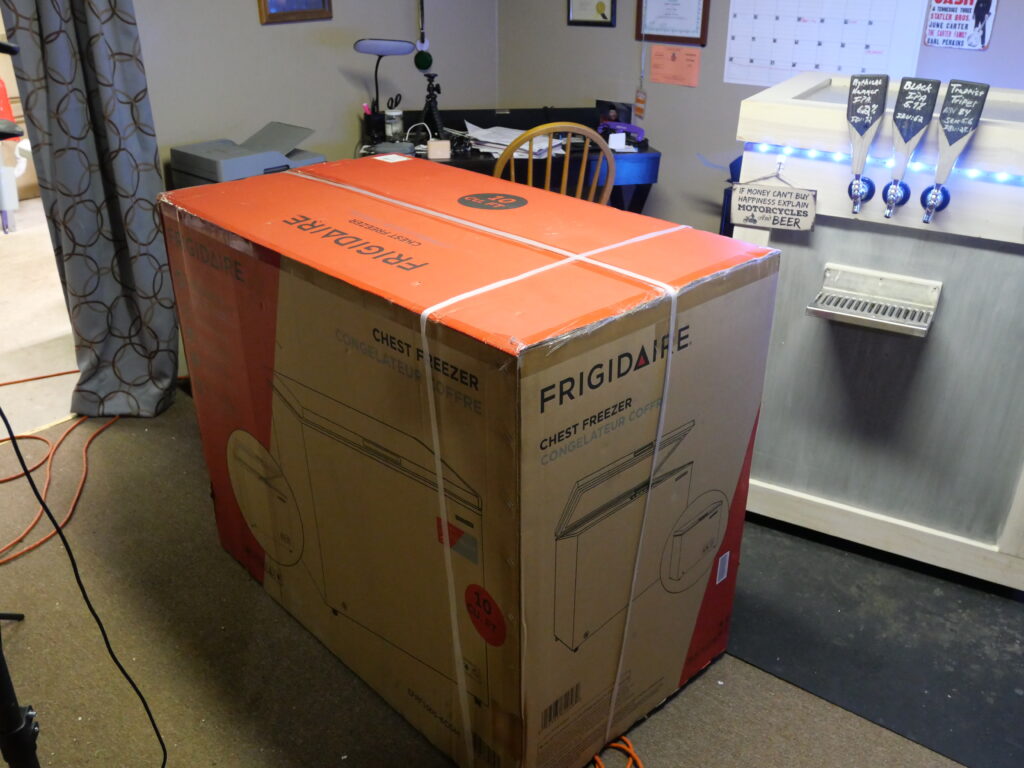
- Size Matters: A 10.3 cu. ft. chest freezer can typically fit 6-8 corny kegs. Smaller 7 cu. ft. models can still hold 3-4, but leave less room for CO2 tanks and extras.
- Used vs. New: Used freezers are cheaper but risky. New models come with warranties and peace of mind.
- Interior Layout: Look for freezers with minimal internal humps and good wall insulation.
Key Components Checklist
- 2×10 or 2×8 lumber for the collar
- Wood screws, wood glue, clamps
- Insulation (rigid foam board or spray foam)
- Exterior-grade caulk
- Sandpaper, stain or paint, and polyurethane
- Faucets, shanks, beer lines, and drip tray
- CO2 tank, regulator(s), gas lines, and manifolds or splitters
- Temperature controller (e.g., Inkbird)
- Small 12V fan for circulation
Step-by-Step Build Process
1. Prepping the Freezer
- Test First: Plug it in for 24 hours to confirm it works and check for funky noises.
- Clean the Inside: A mild bleach solution or Star San works great.
- Mark Interior Dimensions: Tape off the footprint of your kegs and CO2 tank to plan layout.
2. Building the Collar (Detailed Construction)
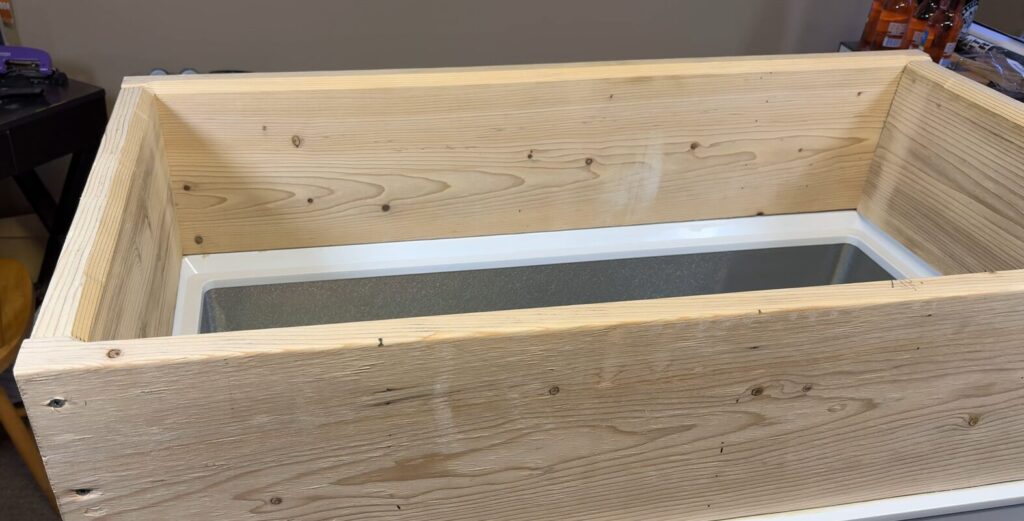
- Measure Twice, Cut Once: Measure the freezer top and subtract 1/8″ to ensure a snug fit.
- Cut the 2×10 Boards: Use a miter saw for square cuts. If you want a polished look, go with 45° miter joints.
- Assemble the Collar Frame: Dry-fit the boards on a flat surface. Apply wood glue at joints, clamp, then drive 2.5″ wood screws.
- Attach to Freezer: Use liquid nails or heavy-duty construction adhesive on the freezer top rim. DO NOT drill into the freezer body.
- Clamp and Cure: Let the adhesive cure for at least 24 hours before proceeding.
- Reattach the Lid: Unscrew the hinges from the body. Then reattach to the collar with new pilot holes.
3. Insulating and Finishing the Collar
- Insulate Interior: Line the inside with 1″ rigid foam board cut to fit. Seal gaps with spray foam.
- Sand and Stain: Sand the exterior collar. Stain to match your bar or paint to your style. Use spar urethane for durability.
- Seal Joints: Run a bead of caulk along all internal seams to lock in cold air and keep moisture out.
4. Installing the Draft System
- Drill Tap Holes: Mark and drill holes (7/8″ for standard shanks) through the collar. Use a spade or hole saw bit.
- Install Shanks: Insert shanks, tighten with a wrench, and attach taps later.
- Beer Line Tip: Keep lines under 6 feet for most setups. Consider bev-seal tubing for smoother pours.
5. Setting Up the CO2 System
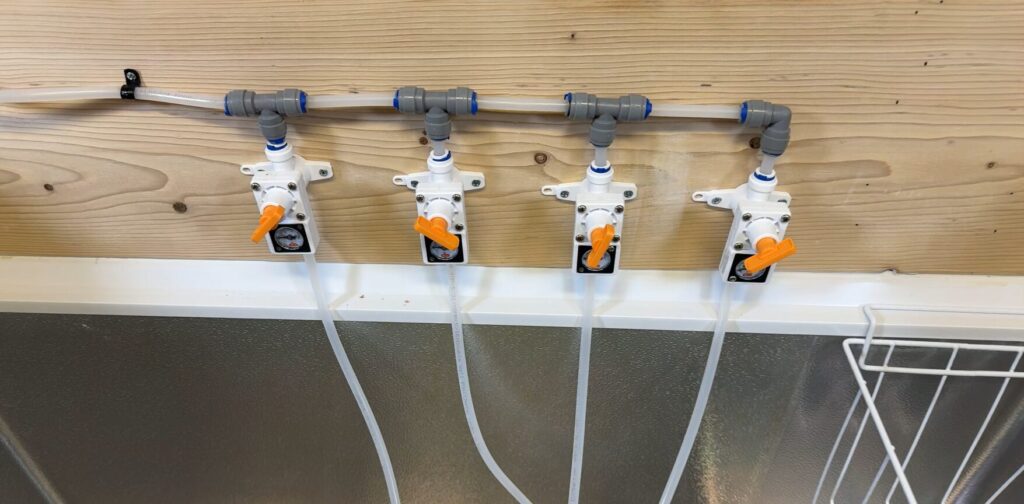
- Mount Regulator & Manifold: Screw your manifold to the inside wall or collar (wood part only). Keep tubing organized.
- Duotight System (Optional): For easy assembly/disassembly, consider using duotight push fittings and EVABarrier tubing.
- Drill Gas Line Hole: Drill a small hole in the collar for the CO2 line if the tank sits outside.
6. Wiring and Temperature Control
- Use a Temp Controller: Plug your freezer into an Inkbird or similar external controller. Insert the temperature probe into a thermowell inside a water-filled (or Vodka, it wont freeze) bottle for accuracy.
- Fan Circulation: Wire a 12V computer fan to a small wall plug or battery pack. Position it to blow across the bottom of the keezer.
Optional Upgrades
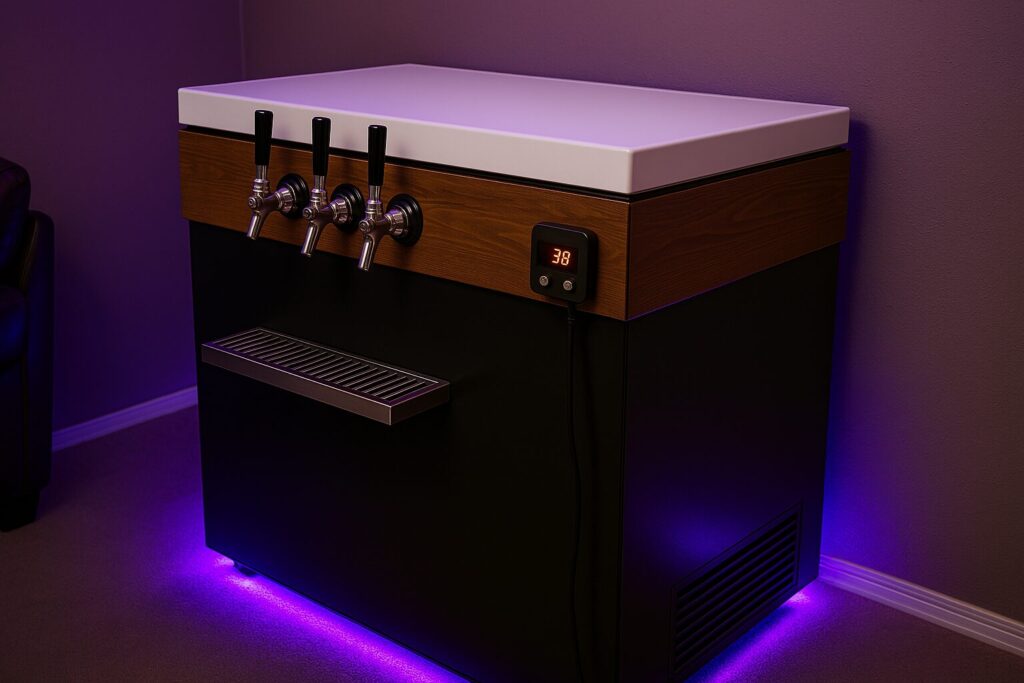
- Digital Temperature Display: Mount an LCD screen to monitor temps at a glance.
- LED Lighting: Add a magnetic LED light strip inside for nighttime pours.
- Drip Tray & Guard: Install a wall-mounted drip tray under your taps.
Cleaning and Maintenance
- Monthly Cleaning: Flush lines with Brewery Cleaner or Draft Line Cleaner, then run Star San through before re-use.
- Check Seals: Inspect lid and collar seals every couple of months.
- Check Gas Lines: Listen for hissing or use a spray bottle with soapy water to spot leaks.
Final Thoughts
A keezer is more than a beer fridge—it’s a personal taproom. Whether you go all out with stained hardwood and LED lights or keep it minimalist, the satisfaction of pouring your own draft beer from something you built is unmatched. And with the how-to details in this updated guide, you’re ready to turn that old chest freezer into a showpiece.
